BLOG
Effortless Home Heating: How to Control Mysa Devices Using the Mysa App for Maximum Efficiency
In the world of home automation, one of the most impactful ways to increase comfort and reduce energy costs is through smart thermostats and heating controls. The rise of smart home technology has made managing the temperature in your home more convenient, energy-efficient, and customizable than ever before. Among the leaders in this space is Mysa, a brand known for its smart thermostats designed for electric heating systems.
If you’re looking for a way to optimize your home’s heating, reduce energy waste, and enjoy comfort at your fingertips, Mysa devices paired with the Mysa app offer the perfect solution. This guide will walk you through how to control Mysa devices using the Mysa app, ensuring maximum efficiency, comfort, and savings.
1. What is Mysa and Why Choose It?
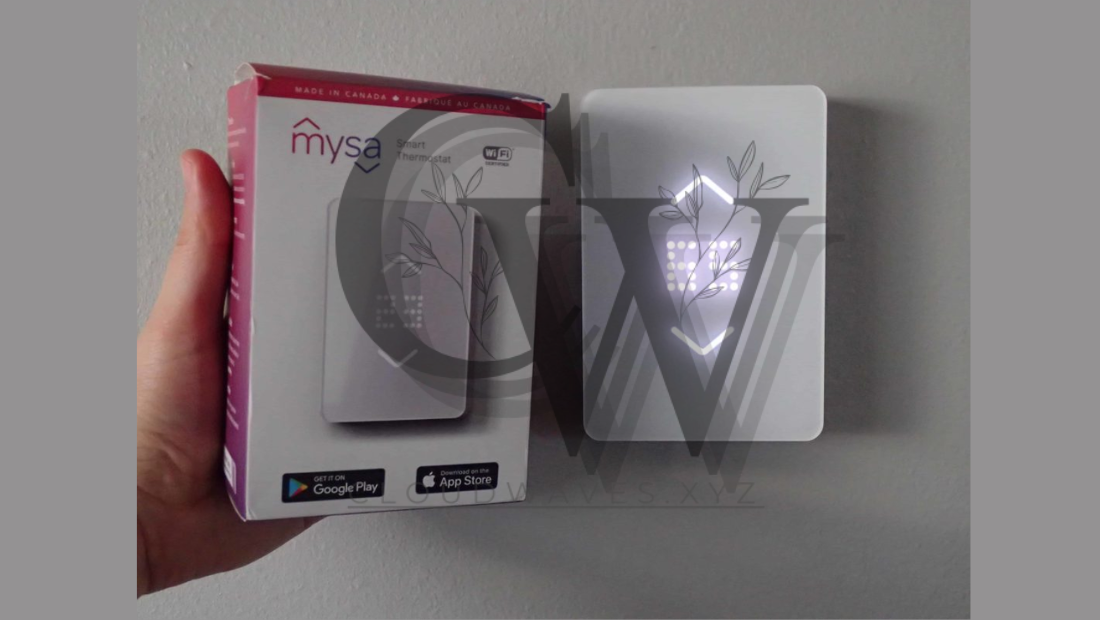
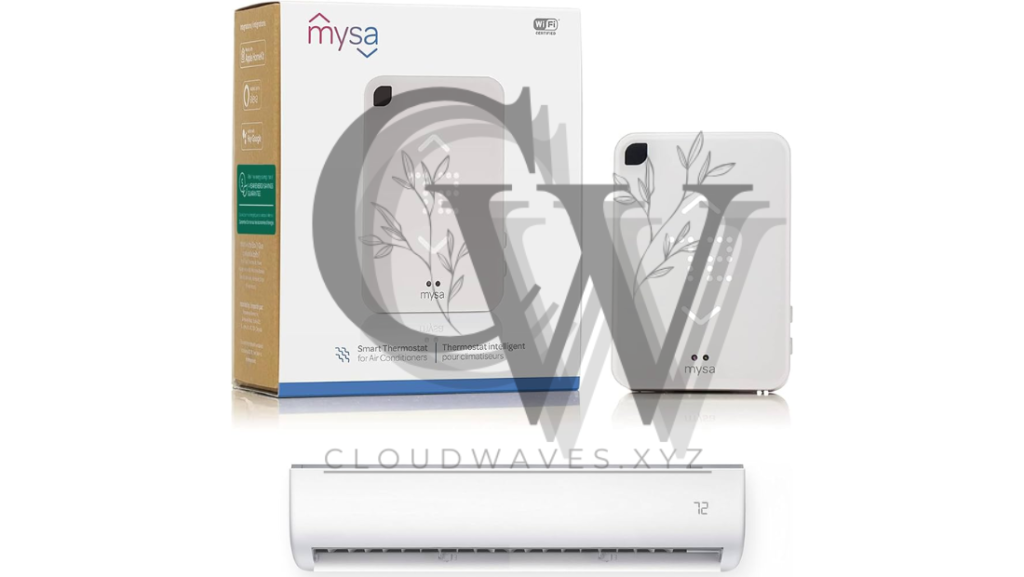
Mysa is a line of smart thermostats that specializes in controlling electric heating systems, including baseboard heaters, fan-forced heaters, and in-floor heating. What sets Mysa apart is its focus on energy efficiency, easy installation, and its ability to integrate seamlessly into a smart home ecosystem.
Here’s why Mysa is a top choice for modern homeowners:
- Energy Efficiency: Mysa thermostats are designed to reduce heating costs by offering precise control over your heating system, allowing you to set schedules and adjust settings remotely. By optimizing when and how your system runs, you can avoid unnecessary heating and save on your energy bills.
- App-Controlled: Mysa’s user-friendly app lets you control your thermostat from anywhere. Whether you’re at home, at work, or on vacation, you can adjust your home’s temperature with just a few taps on your smartphone.
- Sleek Design: Mysa thermostats are not only functional but also designed to complement modern homes. With a sleek, minimalist look, they blend seamlessly with any home décor.
- Integration with Smart Home Systems: Mysa works with Google Assistant, Amazon Alexa, and Apple HomeKit, allowing you to integrate your thermostat with other smart home devices and control your heating with your voice.
2. Setting Up Your Mysa Device: The First Steps to Control Your Heating
Before you can start enjoying the benefits of your Mysa thermostat, you’ll need to set it up. Thankfully, Mysa devices are designed for simple installation and seamless app integration.
Step 1: Install the Mysa Thermostat
- Turn Off Power: Before installing your Mysa thermostat, make sure to turn off the power to your existing heating system. This is a critical step for safety during installation.
- Remove the Old Thermostat: Disconnect your old thermostat from the wall, noting how the wires are connected. The Mysa thermostat is compatible with most electric heating systems, but it’s important to follow the installation manual to ensure proper wiring.
- Install the Mysa Thermostat: Mount the Mysa thermostat to the wall using the provided mounting hardware. Once it’s securely in place, connect the wires to the terminals according to the instructions in the app or the installation guide.
- Turn Power Back On: After your Mysa thermostat is installed and wired, turn the power back on and confirm that the device powers up correctly.
Step 2: Download and Set Up the Mysa App
- Download the App: The Mysa app is available on both iOS and Android devices. Visit the App Store or Google Play and download the Mysa app.
- Create an Account: Once you’ve installed the app, open it and create an account or log in if you already have one. The app will guide you through the setup process, which is simple and straightforward.
- Connect Your Thermostat: In the app, follow the prompts to add your Mysa thermostat. You’ll be asked to connect the thermostat to your home’s Wi-Fi network. This allows you to control the thermostat remotely from anywhere.
- Name Your Device: After the device is connected, you can name your thermostat (e.g., “Living Room Heater,” “Master Bedroom Heat”) to easily distinguish between multiple devices if you have more than one.
Step 3: Sync Your Mysa Device with Your Smart Home System (Optional)
If you want to control your Mysa device with voice commands, you can integrate it with Amazon Alexa, Google Assistant, or Apple HomeKit:
- Amazon Alexa: Open the Alexa app, search for “Mysa” in the Skills & Games section, and enable the Mysa skill. Link your Mysa account and your Alexa-enabled devices will automatically discover your Mysa thermostat.
- Google Assistant: In the Google Home app, tap on the + icon, then choose Set up device and follow the instructions to link your Mysa account with Google Assistant.
- Apple HomeKit: Simply scan the HomeKit setup code included with your Mysa device in the Mysa app to add it to your Home app for easy integration with Siri.
Once integrated, you can use voice commands like:
- “Alexa, set the living room heater to 72 degrees.”
- “Hey Google, increase the temperature in the bedroom to 68.”
- “Siri, turn off the hallway heater.”

3. Controlling Your Mysa Devices Using the Mysa App
Once your Mysa thermostat is installed and connected to the app, controlling your heating system becomes incredibly easy. The Mysa app offers several features that help maximize efficiency, comfort, and savings.
Adjusting Temperature Remotely
From within the Mysa app, you can control the temperature of your thermostat at any time, from anywhere. Whether you’re at home or away, adjusting your heating system is just a tap away.
- Set Your Ideal Temperature: Adjust your thermostat to your desired temperature for each room in your home. Mysa allows you to set the perfect comfort level for each area.
Scheduling Temperature Adjustments
One of the best ways to maximize energy efficiency is by scheduling your thermostat to adjust temperatures at specific times of the day.
- Create a Schedule: In the app, you can create a customized heating schedule. For example, you can set the temperature to lower while you’re at work and then raise it before you come home so your house is warm when you arrive.
- Optimize Heating Times: You can also schedule your thermostat to turn off or reduce heating during the night when you’re sleeping, or when everyone is out of the house. This helps save energy without sacrificing comfort.
- Geo-Location Scheduling: Mysa also supports geo-location scheduling—the thermostat can automatically adjust when you’re close to home or when you leave. This feature ensures your home is always at the right temperature when you need it and saves energy when you’re away.
Using the App’s Energy Monitoring Features
Mysa provides insights into your heating habits with its energy monitoring feature. This allows you to:
- Track Energy Usage: The app shows how much energy your heating system is consuming, giving you the ability to identify areas where you could be more energy-efficient.
- View Historical Data: You can track your energy usage over time, helping you see patterns and adjust your schedule for maximum efficiency.
- Set Energy-Saving Goals: By setting specific temperature goals or running your heating system only when necessary, you can reduce your home’s carbon footprint and lower utility bills.
Integrating with Other Smart Home Devices
For even more convenience, Mysa thermostats can integrate with other smart home devices. For example, you can link your Mysa thermostat with a smart plug to turn off devices when the thermostat reaches a specific temperature. Or you can set up automations through your Google Assistant or Amazon Alexa to have your thermostat work in tandem with other smart devices, like lights or fans.
4. Maximizing Efficiency with Mysa: Tips and Best Practices
To get the most out of your Mysa thermostat, here are a few tips for maximizing energy efficiency and saving on heating costs:
- Set a Comfortable, But Not Excessive Temperature: Keeping your thermostat set to an ideal temperature (around 68°F/20°C during the day and 60°F/15°C at night) can significantly reduce energy consumption without sacrificing comfort.
- Utilize Smart Scheduling: Use the scheduling feature to avoid heating rooms when they are not in use. If you’re out for most of the day, lower the temperature, and have it warm up just before you return home.
- Monitor Usage Regularly: Check the energy usage data regularly in the app to ensure you’re not heating unnecessarily. If you notice spikes in energy usage, consider adjusting your settings or scheduling.
- Enable Geo-Fencing: Geo-fencing ensures that your Mysa thermostat automatically adjusts when you leave or approach home. It’s a great way to ensure your home is never too hot or too cold while you’re away.
5. Troubleshooting Common Issues
While Mysa devices are designed for easy use, here are some quick troubleshooting tips in case you run into any issues:
- Thermostat Not Responding: If your Mysa device is not responding, ensure your Wi-Fi connection is stable. Try restarting your router and Mysa thermostat.
- App Connection Issues: If you’re having trouble connecting the app to your Mysa device, ensure you’re using the correct Wi-Fi network and that the app is up to date.
- Incorrect Temperature Readings: Make sure your Mysa thermostat is placed in an optimal location, away from drafts or direct heat sources, as this can affect its readings.
6. Conclusion: Smart, Efficient Heating with Mysa
With the Mysa thermostat and its user-friendly Mysa app, controlling your home’s heating has never been easier or more efficient. Whether you’re optimizing your heating schedule, tracking energy usage, or controlling your system remotely, Mysa offers all the tools you need to stay comfortable while reducing energy waste.
By setting up your Mysa device and using the app to its fullest potential, you can enjoy a warmer, more energy-efficient home—while saving money on heating bills. It’s a simple step toward creating a smarter, more sustainable home.

